How to Install Yay on a Pure Arch Linux Docker Image
Yay installation require few steps like user creation, base-devel and git installation, change in /etc/sudousers, cloning yay repo and makepkg on it. This posts covering this process steps by steps.


In this article, we will guide you through the process of installing the yay AUR helper on a pure Arch Linux Docker image. Yay is a popular, user-friendly tool for managing packages from the Arch User Repository (AUR). Installing yay on an Arch Linux Docker image can help you streamline package management and keep your containerized applications up-to-date.

Preparing the Arch Linux Docker Image
First, start a new Arch Linux Docker container by running the following command:
docker run --rm -it archlinux
This command will download the latest Arch Linux image (if you don't have it already) and start an interactive container session.
Updating the System and Installing Dependencies
Before installing yay, ensure your Arch Linux container is up-to-date and has the required dependencies installed. Update the system and install base-devel and git using the following command:
pacman -Syu --noconfirm && pacman -S --noconfirm base-devel git
base-devel contains essential tools for building packages, while git allows you to clone the yay repository.
Creating a Temporary Build Directory
To build and install yay, you need a temporary directory. Create a directory named /tmp/yay-build and change its ownership to the new user builder using these commands:
mkdir -p /tmp/yay-build
useradd -m -G wheel builder && passwd -d builder
chown -R builder:builder /tmp/yay-build
Granting Sudo Permissions
Allow the builder user to use sudo without a password by adding an entry in the /etc/sudoers file:
echo 'builder ALL=(ALL) NOPASSWD: ALL' >> /etc/sudoersCloning the Yay Repository
As the builder user, clone the yay repository to the /tmp/yay-build directory:
su - builder -c "git clone https://aur.archlinux.org/yay.git /tmp/yay-build/yay"
Building and Installing Yay
Now, build and install yay using the makepkg command:
su - builder -c "cd /tmp/yay-build/yay && makepkg -si --noconfirm"
This command will build and install yay without prompting for confirmation.
Cleaning Up
After successfully installing yay remove the temporary build directory:
rm -rf /tmp/yay-build
You have successfully installed yay on a pure Arch Linux Docker image. With yay installed, you can now easily manage AUR packages within your containerized Arch Linux environment. This can be particularly useful for developers and system administrators who use Arch Linux and Docker for their applications and services.
Let's test if it works on example of gpt-cli
We will switch to user builder
su - builderand install first package. For example
yay -S gpt-cli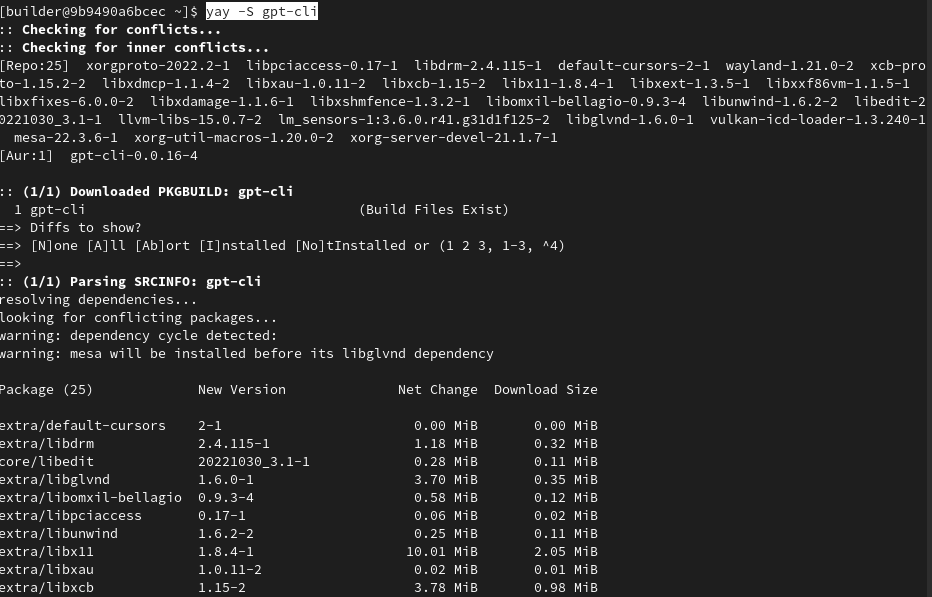
It allow to recommend you linux commands using openai api with gpt-3.5-turbo model. You can test it typing:
GPT3_API_KEY="sk-xxx" p perl onliner that will show first 10 fibonacci sequence elementsyou will see info that script presented below was copied to your clipboard
perl -e 'sub f{ $_[0] < 2 ? $_[0] : f($_[0]-1) + f($_[0]-2) }; foreach(0..9){ print f($_), "\n"; }'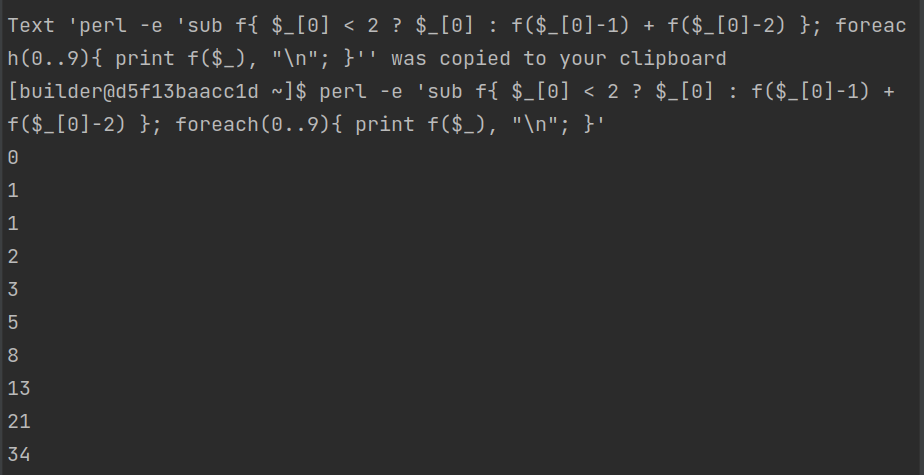
You can read full docs of gpt-cli on github.
 gustawdaniel
I hope that blog post will help you in installing yay on arch docker image.